Oppotunities
How to apply for a Canada Visa

Applying for a Canadian visa involves several steps, and the specific process can vary depending on the type of visa you’re applying for (e.g., tourist, work, study) and your country of residence. Here’s a general outline of the steps involved in applying for a Canadian visa:
-
Determine Your Eligibility: Before you begin the application process, make sure you are eligible for the type of visa you want to apply for. Visit the official website of Immigration, Refugees and Citizenship Canada (IRCC) to check the eligibility criteria.
-
Choose the Right Visa Type: Select the appropriate visa category based on your purpose of travel (e.g., tourism, work, study). Each category may have specific requirements and documents needed.
-
Create an Online Account: Visit the IRCC website and create an online account (if required) to start the application process. You’ll need a valid email address to create the account.
-
Fill Out the Application Form: Complete the relevant application form accurately. The form could be an IMM (Immigration, Refugees and Citizenship Canada) form, and it’s usually done through the online account you created.
-
Gather Required Documents: Collect all the documents specified for your visa type. These could include your passport, passport-sized photographs, travel itinerary, proof of funds, letter of invitation (if applicable), educational documents (for study visas), and more. Check the specific requirements for your visa type on the IRCC website.
-
Pay the Application Fee: Pay the required application fee online using the accepted payment methods. Keep the receipt as you’ll need it for your application.
-
Biometrics Appointment (if required): Depending on your nationality and the type of visa you’re applying for, you may need to provide biometrics (fingerprints and photo). You’ll receive instructions on how to schedule a biometrics appointment at a local Application Support Center.
-
Submit Your Application: Complete the online application form and upload all the necessary documents. Double-check that all information is accurate before submitting. Pay attention to any additional instructions or forms that may be required.
-
Wait for Processing: After submitting your application, you’ll need to wait for it to be processed. The processing time can vary depending on the type of visa and your country of residence. You can check the current processing times on the IRCC website.
-
Attend an Interview (if required): Some visa categories may require an interview. If you’re asked to attend an interview, make sure to prepare by reviewing your application and the documents you submitted.
-
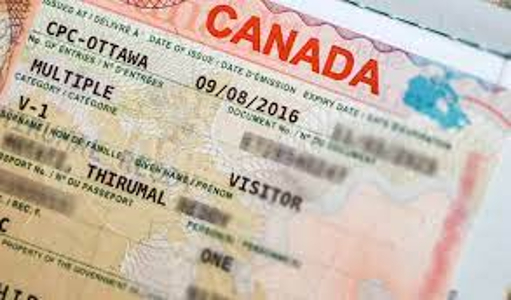
Receive a Decision: Once your application is processed, you’ll receive a decision. If your application is approved, you’ll receive a visa or a Port of Entry (POE) letter of introduction, depending on the visa type.
-
Travel to Canada: If you receive a visa, make sure to follow any instructions provided in the Port of Entry letter and have all your documents ready when you travel to Canada.


