Oppotunities
How to switch from visitor visa to family visa
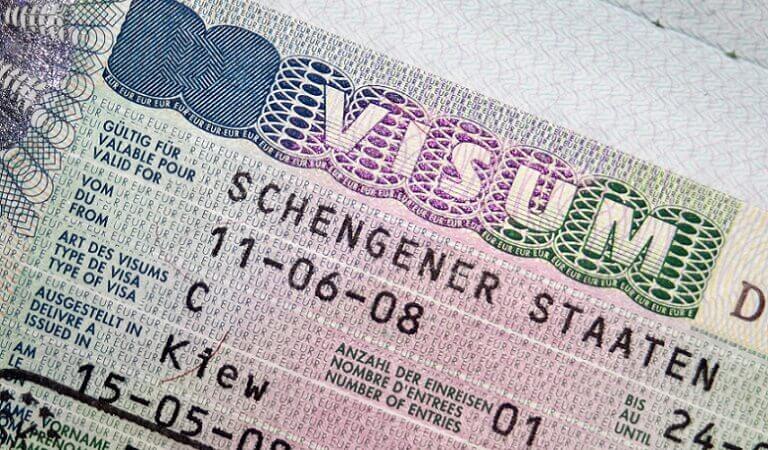
Switching from a visitor visa to a family visa in the UK involves specific steps and requirements. If you’re already in the UK on a visitor visa and wish to join a family member who is settled or has British citizenship, here’s how you can switch to a family visa:
-
Eligibility Check:
- Ensure that you meet the eligibility criteria for the family visa category you intend to apply for. Common family visa categories include spouse/partner visas and parent visas.
-
Apply Before Visa Expires:
- It’s important to apply for the family visa before your visitor visa expires. Overstaying your visitor visa can have serious consequences.
-
Gather Required Documents:
- Collect all the necessary documents to support your application. This may include your passport, visa application form, passport-sized photographs, financial evidence, relationship proof, English language proficiency (if required), and any other documents specified for the specific visa category.
-
Financial Requirements:
- Depending on the visa category, you might need to demonstrate that you meet the financial requirements to support yourself and your family member in the UK.
-
Relationship Proof:
- Provide evidence of your genuine relationship with the settled or British family member. This can include marriage certificates, birth certificates, joint documents, and photos together.
-
Apply Online:
- Complete the online visa application form on the official UK government website. You’ll need to create an account, fill in the form accurately, and pay the visa application fee.
-
Biometrics Appointment:
- After submitting your online application, you’ll need to book and attend a biometrics appointment at a local visa application center. Your fingerprints and photograph will be taken.
-
Attend a Premium Service Center (Optional):
- Some visa categories offer a premium service that allows you to receive a decision within a shorter timeframe. This service comes with an additional fee.
-
Provide Additional Information (if requested):
- In some cases, the UK Visas and Immigration (UKVI) might request additional information or documents to support your application.
-
Wait for Decision:
- After your biometrics appointment, you’ll need to wait for a decision on your application. The processing time can vary based on the visa category and the time of year.
-
Collect Your Visa:
- If your application is approved, you’ll receive a vignette (sticker) in your passport that allows you to travel to the UK. Upon arrival, you’ll need to collect your Biometric Residence Permit (BRP) which will serve as your actual visa.


